
Playground #1 with Pipeline

This post is around Oracle EPM Cloud Planning – Version 23.10.70
Oracle Product Development team recently made the feature Pipeline GA, and this is really exciting! To me this is probably the major update of the year (except for Forms 2.0 that are coming this month).
Why do I think this is a game changer? Simple and effective user interface, handles serial or parallel jobs, offers the possibility to connect to other EPM Cloud apps, can send email notifications and so much more.
Within an EPM architecture of several instances, you can create a pipeline that can orchestrate jobs of multiple instances from a single place using a graphical UI, instead of having to write a script with code using either REST API, Groovy, EPM Automate or any other code-layer that can connect to EPM Cloud apps (UNIX shell, Powershell, …).
In this episode #1 for the playground of Pipeline, I am focusing on the “File Operations” Job Type: official documentation link here.
Creation of a new pipeline
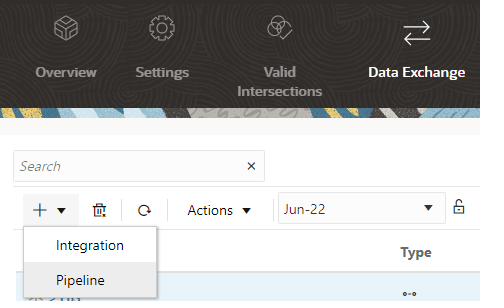
First you can see in the Data Exchange menu, there is a new item in the “+” menu: that’s how you create a new pipeline:
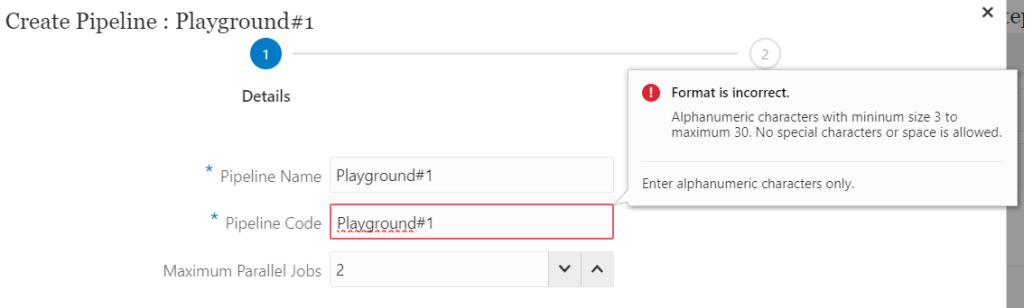
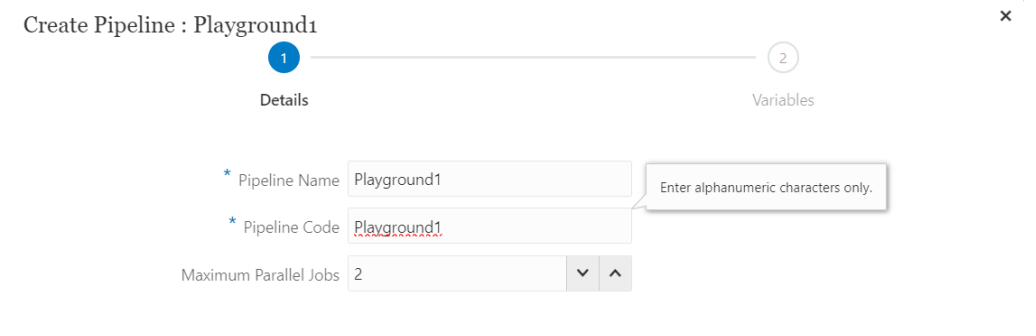
There are some contraints to comply with to give it a proper name: from 3 to 30 characters and no special characters or space is allowed. Depending on your pipeline library to be, you may or may not want to define some naming convention first so that you keep your integration jobs and pipeline clean. In the example provided, I tried the name “Playground#1” but as it contains the # special character, I had to change it to “Playground1”:
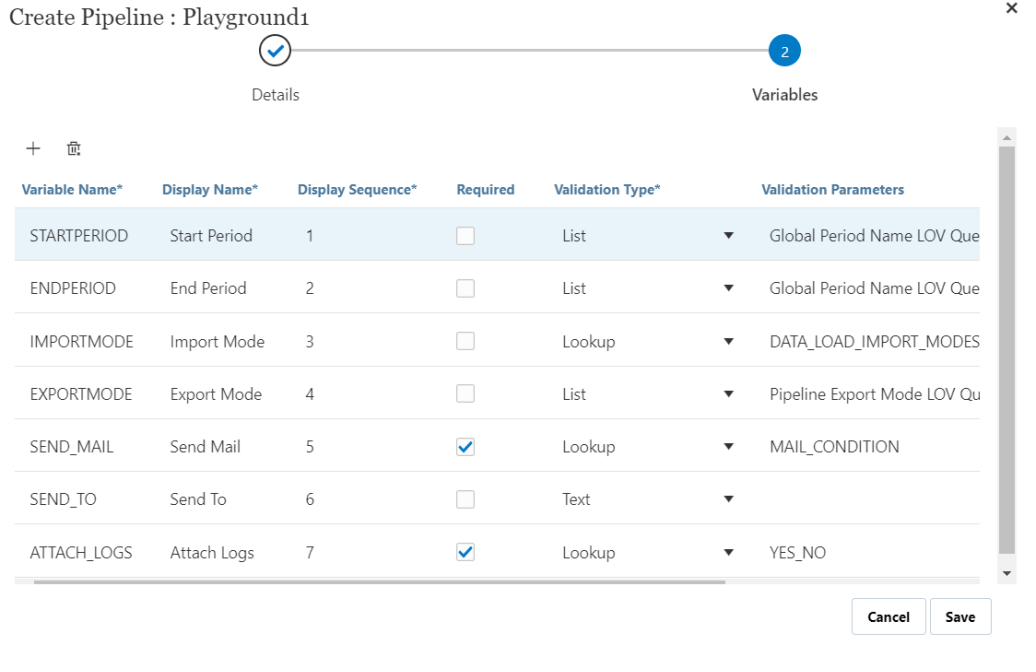
Then there are some default variables that are automatically suggested, which is a nice thing because you have some basic variables that should be useful in most of pipeline definitions, for no effort of configuration:
You now need to create a Stage and give it a name and title.
Note that the Stage name cannot be changed afterwards, or you will need to delete it and create it with the correct expected name.The title is the alias displayed in the user interface. The sequence indicates the order of execution of the stage: this is how you can change the order of stages, you do not have the possibility to drag-and-drop the boxes from the UI to change the order.
Also note the interesting capabilities offered by the fields “On Success” and “On Failure” where you can hosse between either “Continue” or “Stop”. This has been released in 23.09, and what it does speaks for itself 🙂
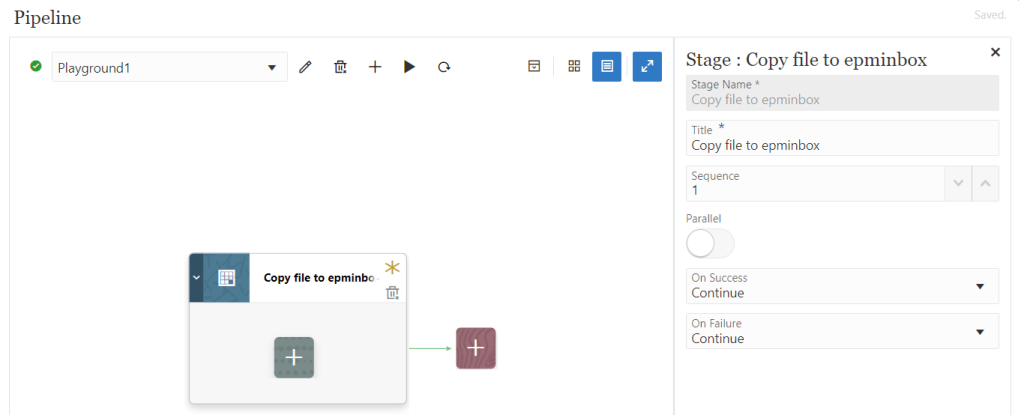
Next, click on the “+” within the stage newly created, the one with the gray background.
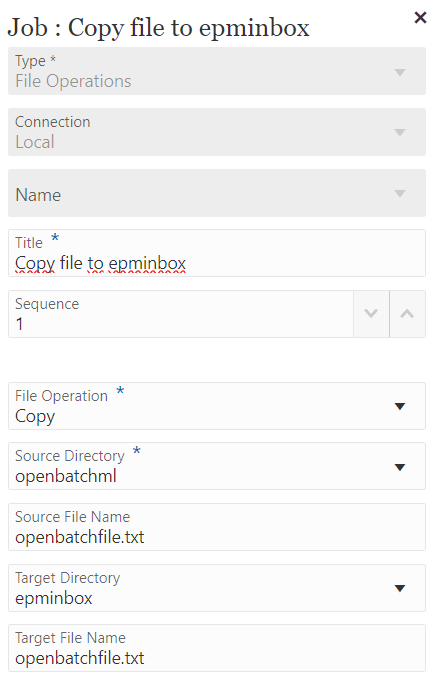
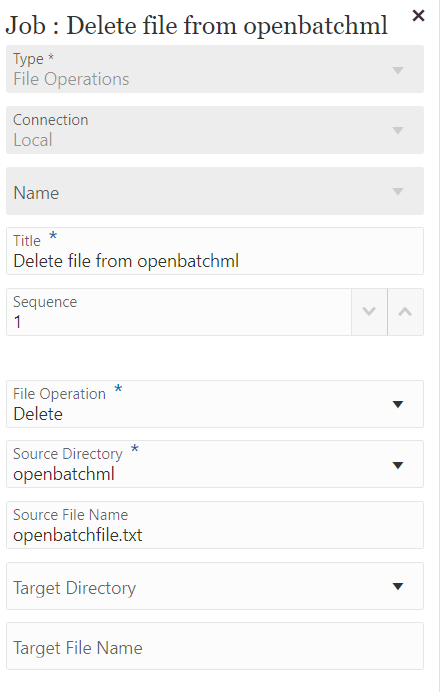
Again, on the right pane of the screen, you can configure the job parameters. I will have ‘File Operations” selected. In this example, I will move a file from the openbatchml folder to the epminbox by creating 2 stages: copy and delete. Note that this is only for the sake of playing with the pipeline UI, since there is a “Move” file operation that is available, but not shown here.
Here is the first job in the first stage:
Here is the second job in a separate stage:
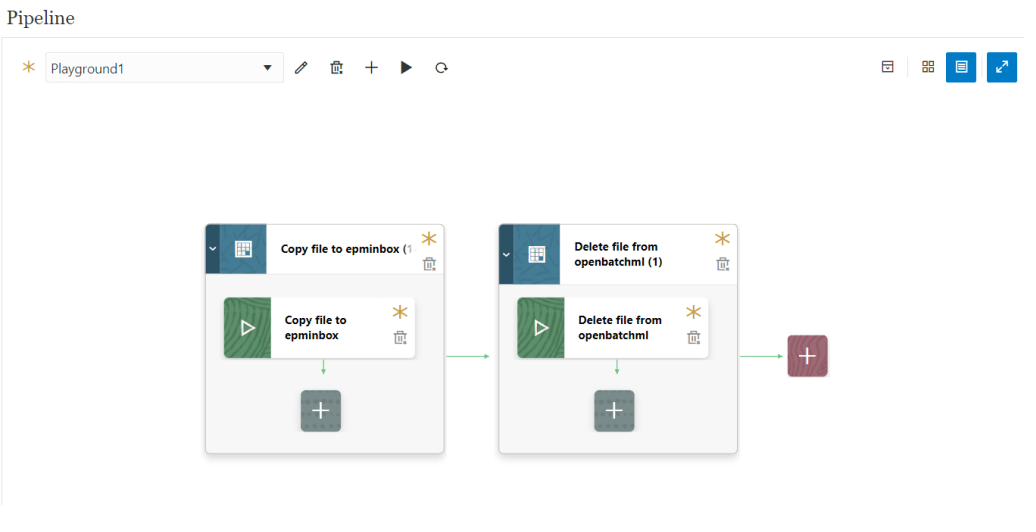
Interesting to note that the number of jobs within each stage is displayed in the title of the stage itself, here (1). The pipeline finally looks like below:
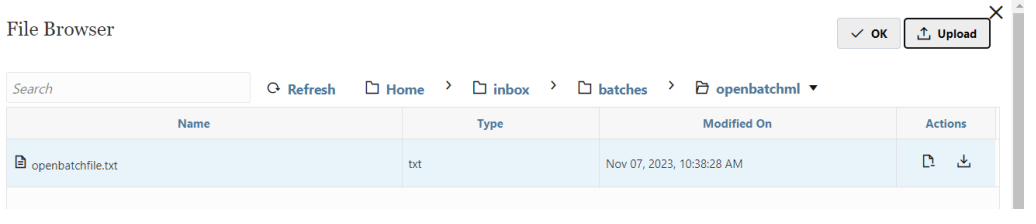
Before running the pipeline, let’s upload a sample file “openbatchfile.txt” in the openbatchml folder:
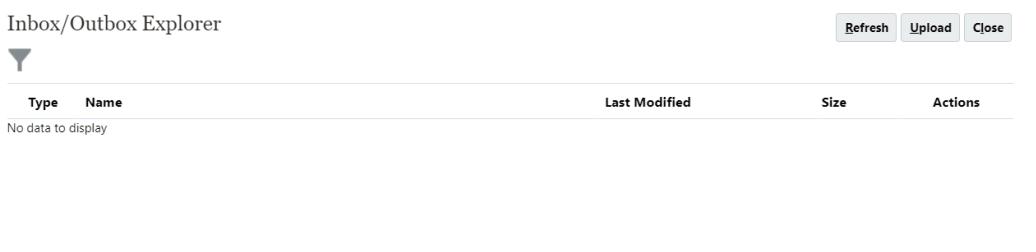
Let’s also check the epminbox folder:
Running the pipeline
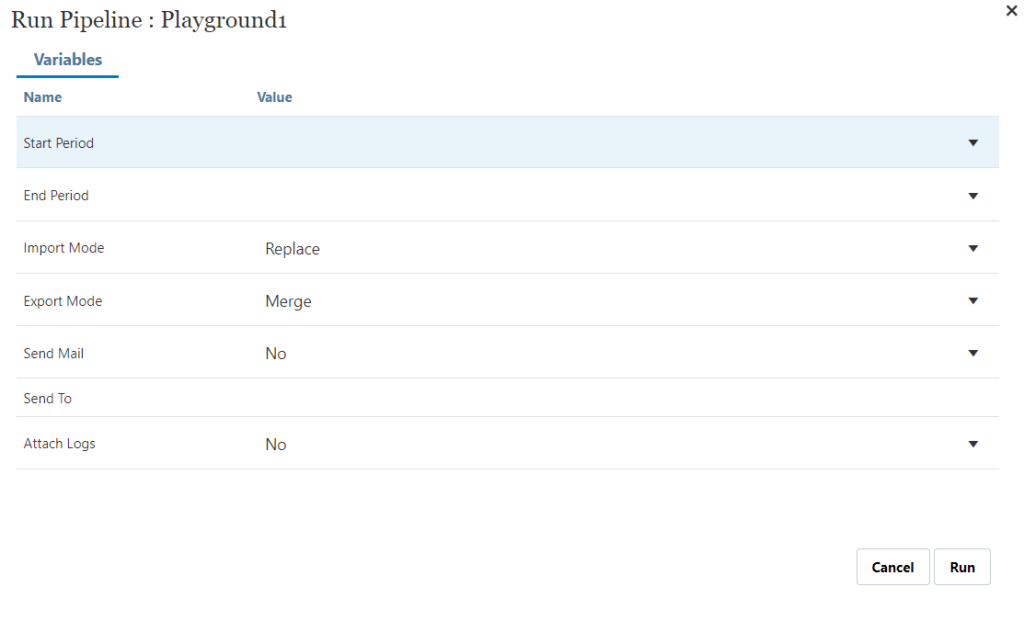
When running the pipeline, a runtime screen is prompted to give it the proper values for all variables. In this trivial example, I will let all default values and click on Run.
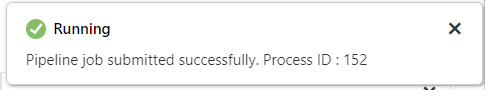
This little pop pup will show up and go away in a smooth way in the top-right corner of the screen:
You can the refresh the pipeline status by clicking on the appropriate icon, right next to the “Play” icon. The statuses of all jobs will the appear, similarly to the icons for Integration jobs:
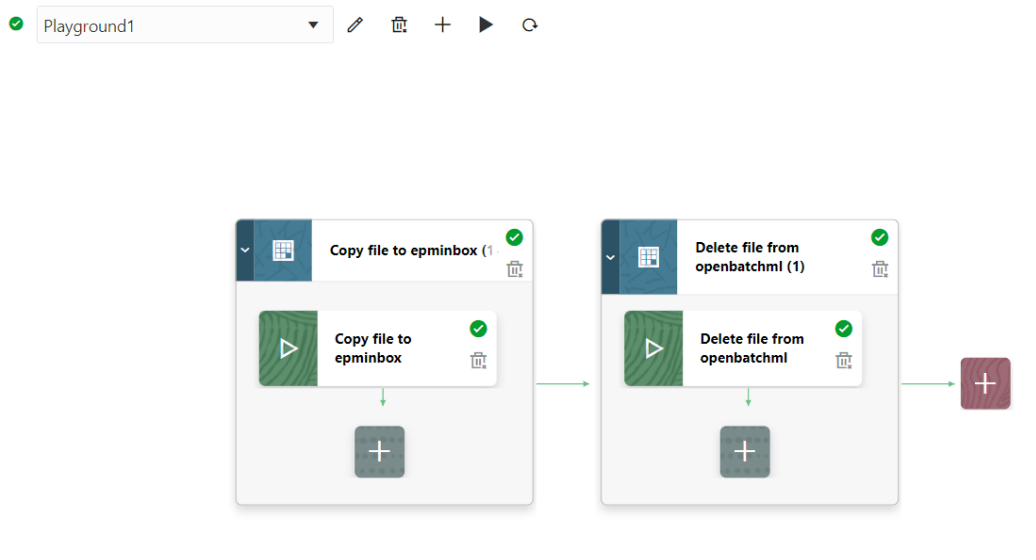
Logs of each jobs are available and can easily be downloaded by clicking on the status icon of each job.
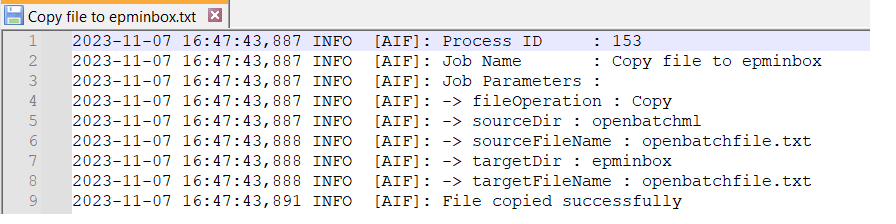
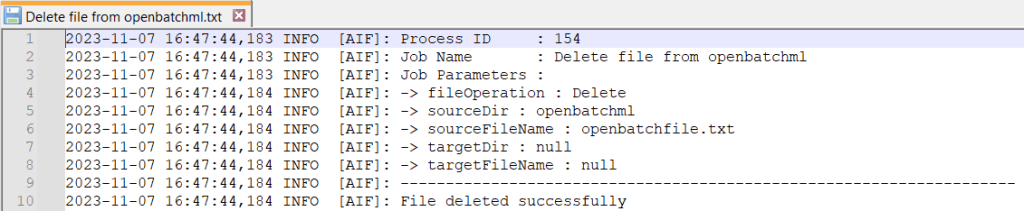
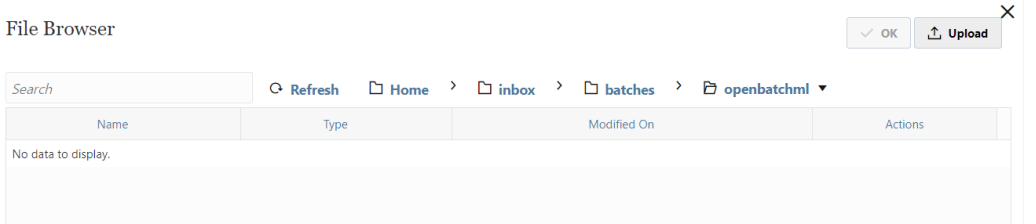
Let’s now check the content of both openbatchml and epminbox folders: the file has been moved.

What’s next ?
The current release (23.11: test environment since 3rd November 2023, production environment from 17th November 2023) offers 2 new options that are “Download” and “Upload” so that you can easily transfer files from other Oracle EPM Cloud instances, based on a predefined connection.
| Job Type “File Operations” | Release |
|---|---|
| Copy | 23.09 |
| Delete | 23.10 |
| Move | 23.09 |
| Unzip | 23.09 |
| Upload | 23.11 |
| Download | 23.11 |
This seed is an introduction to the pipeline feature that was released from earlier this year (23.06). More playground seeds to come next…